Your cart is empty.
New to Die Cutting?
Learn how to use AccuCut die-cutting machine and steel-rule dies to save time.
Die-Cutting Basics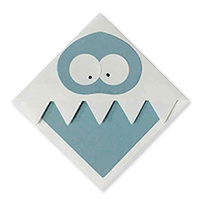
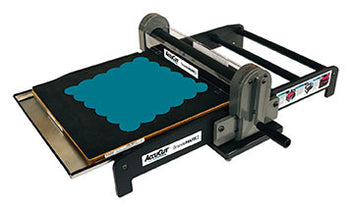
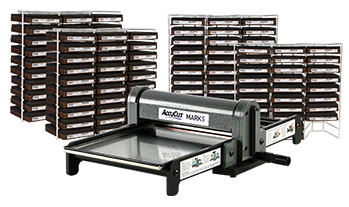
Compare Machines
Find the AccuCut roller die-cutting machine that best fits your needs.
Machine Comparison Guide
Ready to Get Started?
We’ve created this handy how-to guide to help you get started die cutting.
Learn More
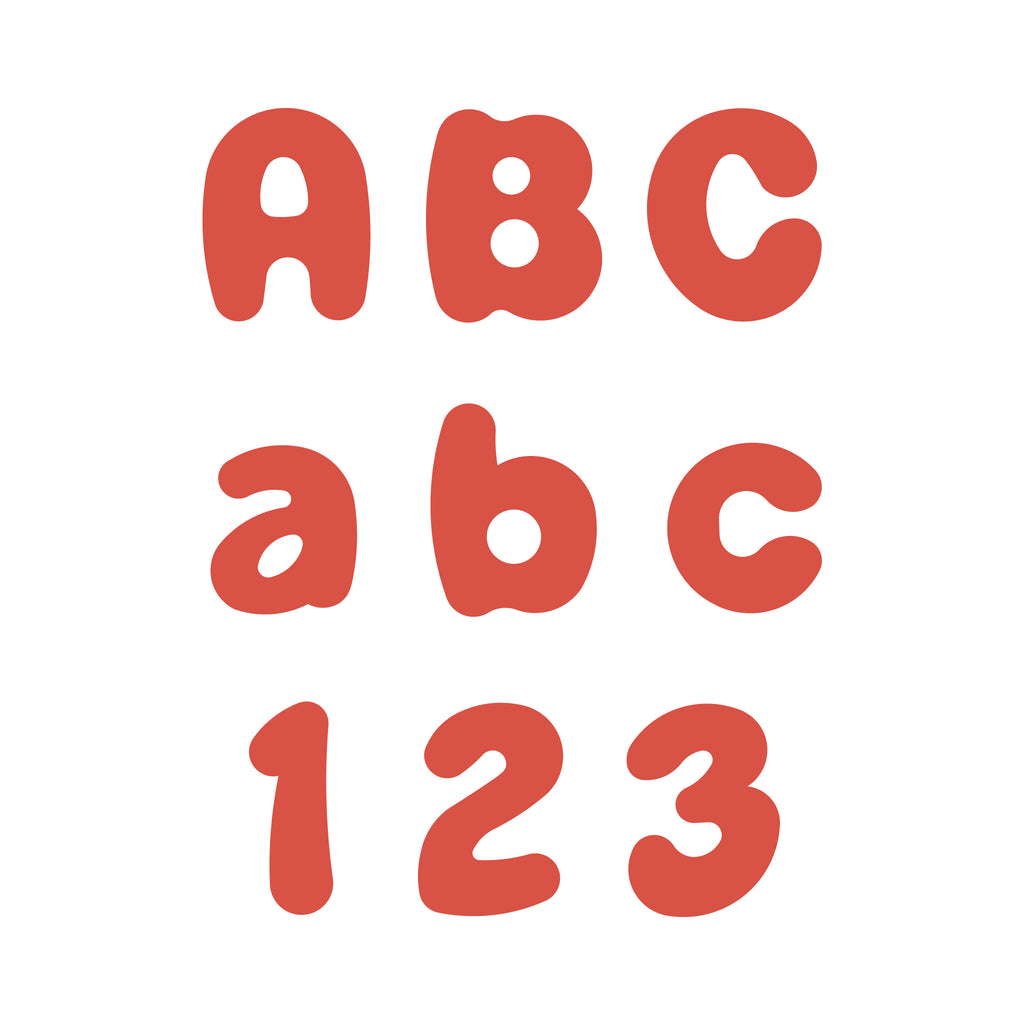
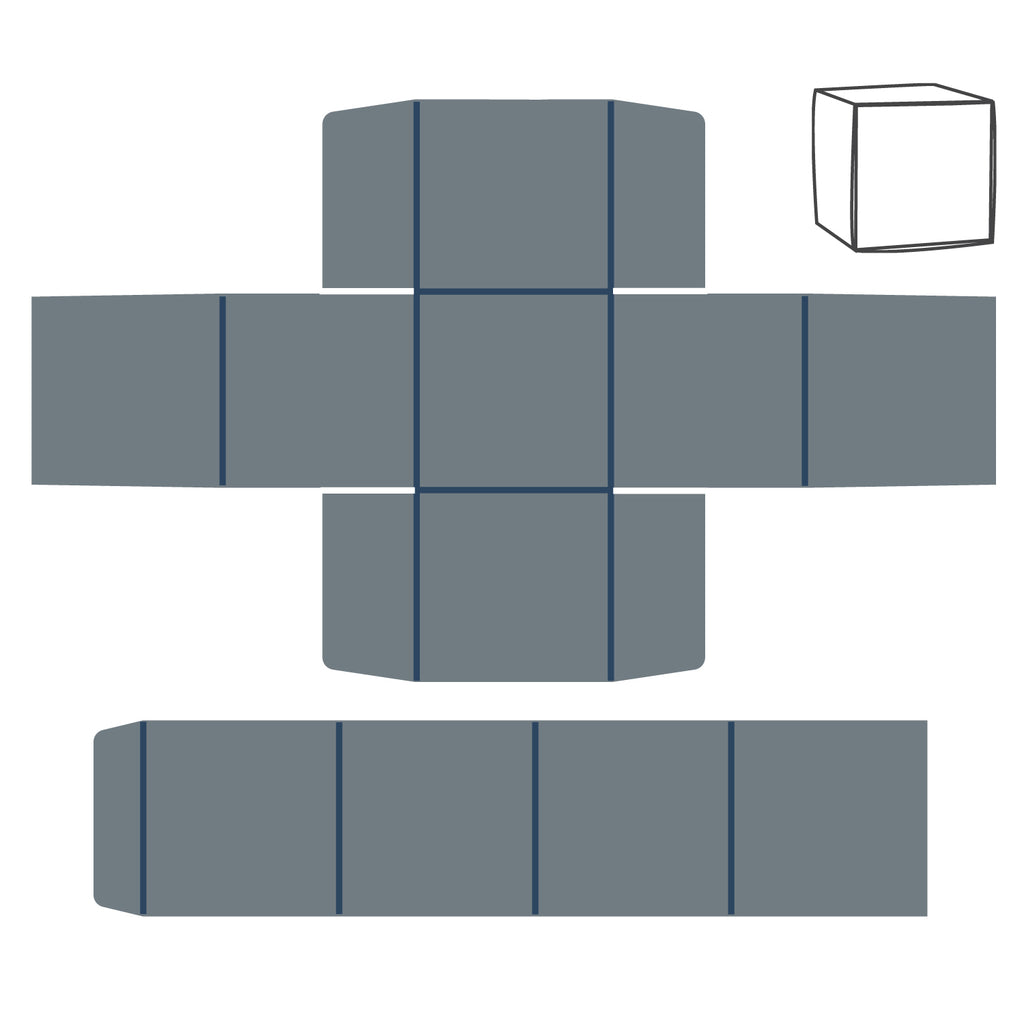
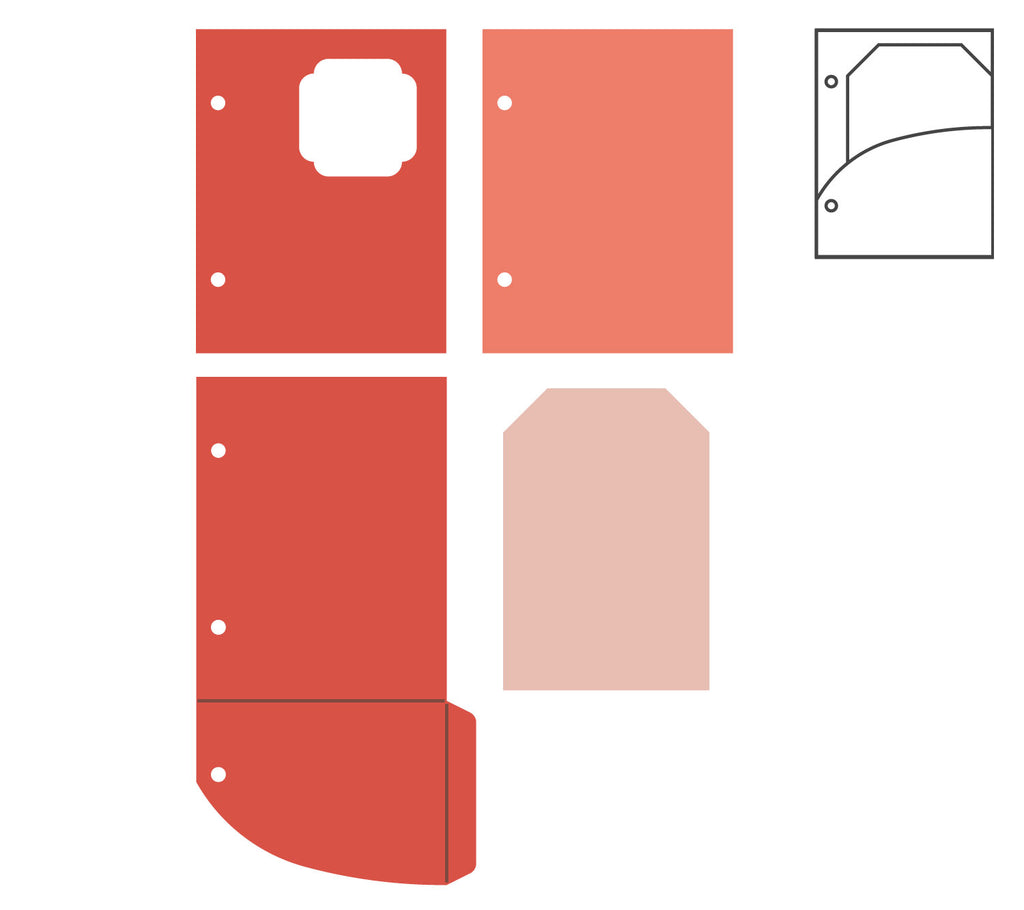
Design Your Own Custom Dies
It's easy to get a custom die made from your own design or adjust an existing AccuCut shape to the size you need. It's easy and affordable!
REQUEST A FREE QUOTE TODAY